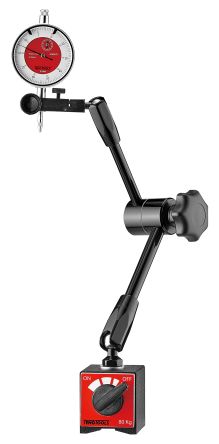
Dial Test Indicator | Metric Dial Indicator | RS
Log in / Registreer om gebruik te maken van uw voordelen
Onlangs gezocht

    Dial Indicators

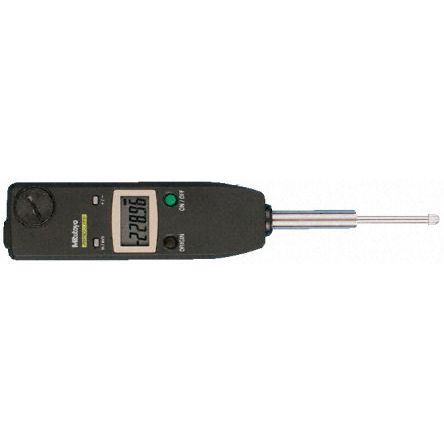
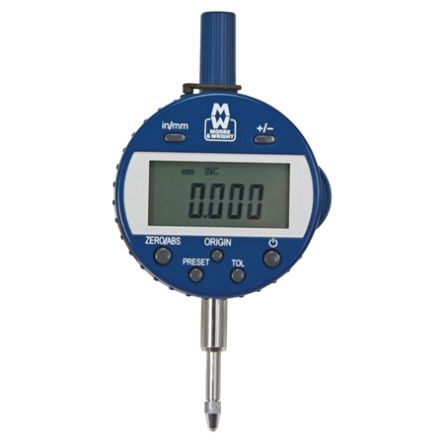
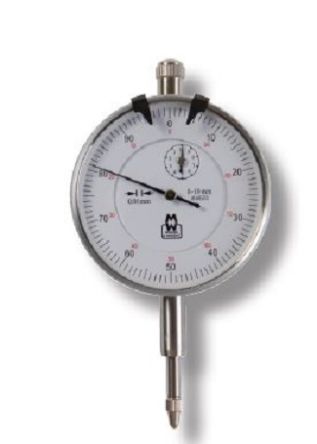
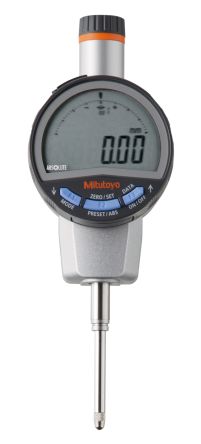
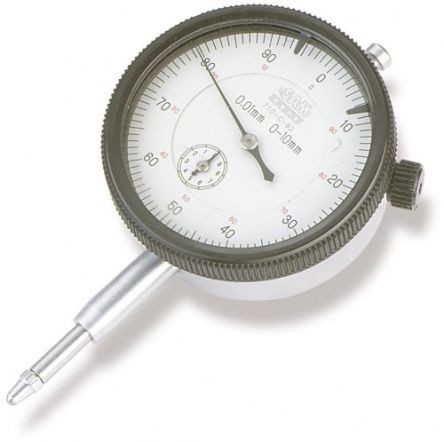
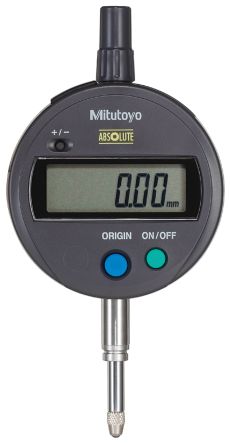
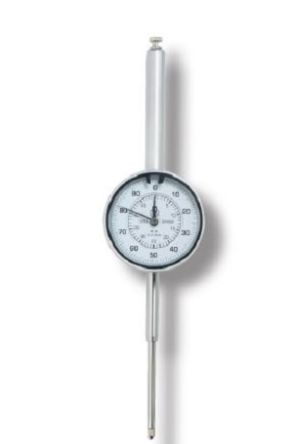
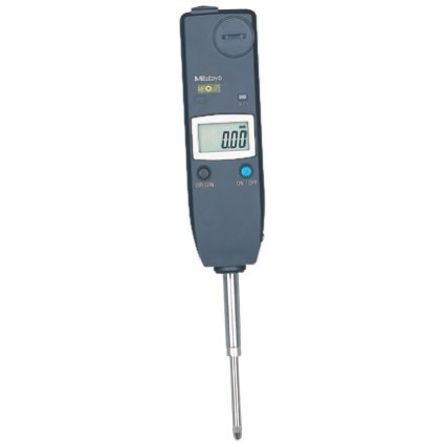
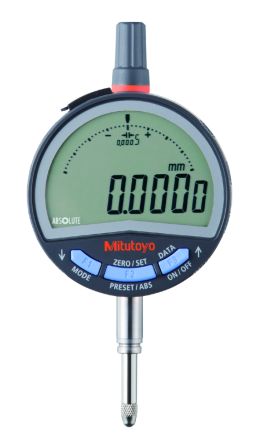
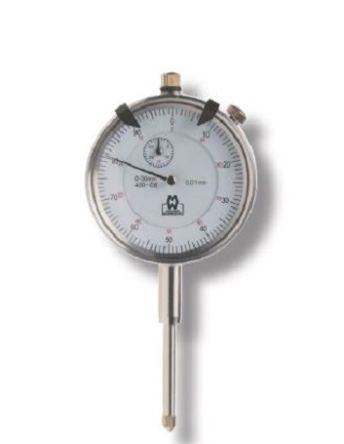
    Dial Indicators are measuring devices used in mechanical and industrial applications. They are designed to measure in vertical or horizontal positions and typically used to measure clearances, tolerance, and variation in tolerance of machined parts to ensure accuracy. Our offer includes analog or digital dials with imperial (in) and metric (mm) measurements.

    Types of Dial Indicators

    Plunger Dial Indicator

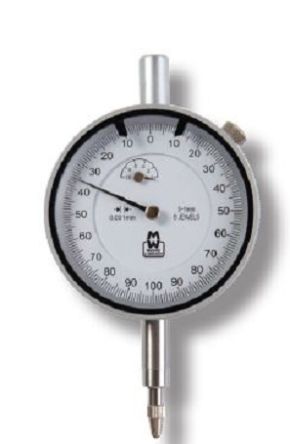
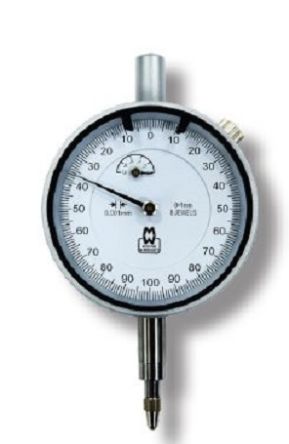
    A plunger dial Indicator works by measuring the upward pressure detected at the point of contact and multiplied through a sequence of gears and levers produce readings on the face of the dial.

    Dial Test Indicator

    A dial test indictor is constructed from the following, a circular body, indicating hand, a revolution counter, a graduated scale, and a spindle with a contact point. Commonly used for setting up lathes and vice calibration.

    Why Choose RS for Dial Indicators?

    We support engineers with high-quality products and technical support. Our comprehensive range of dial indicators has been sourced from leading brands such as; Facom, Mahr, Mitutoyo, and RS PRO.

    Applications

    Dial indicators are used by mechanical engineers in applications such as;

    • Mechanical workshops
    • Precision machine shops
    • Lathe workshops

    95 Producten voor Dial Indicators

    Moore & Wright
    -
    5mm
    ± 0.014 mm
    0.01 mm
    -
    -
    0 → 5 mm
    -
    Moore & Wright
    -
    3mm
    ± 0.012 mm
    0.01 mm
    -
    -
    0 → 3 mm
    -
    Mitutoyo
    SPC Data Output,Metric-Imperial Conversion,Battery Operated
    1in
    ±0.0008 in
    0.0005 in
    UKAS
    Yes
    0 → 1 in
    Both
    Mitutoyo
    SPC Data Output,Metric-Imperial Conversion,Battery Operated
    1in
    ±0.0008 in
    0.0005 in
    -
    Yes
    0 → 1 in
    Both
    Moore & Wright
    -
    50.8mm
    ±0.006
    0.001
    -
    Yes
    0 → 50.8 mm
    Imperial, Metric
    Moore & Wright
    -
    50.8mm
    ±0.006
    0.001
    -
    Yes
    0 → 50.8 mm
    Imperial, Metric
    Moore & Wright
    -
    1mm
    ± 0.004 mm
    0.001 mm
    -
    -
    0 → 1 mm
    -
    Moore & Wright
    -
    1mm
    ± 0.004 mm
    0.001 mm
    -
    -
    0 → 1 mm
    -
    Moore & Wright
    -
    10mm
    ±0.016 mm
    0.01 mm
    -
    -
    0 → 10 mm
    -
    Moore & Wright
    -
    50mm
    ± 0.04 mm
    0.001 mm
    -
    -
    0 → 50 mm
    -
    Mitutoyo
    -
    25.4mm
    0.02 mm
    0.01 mm
    UKAS
    Yes
    25.4 mm
    Metric
    SAM
    -
    -
    0.01 mm
    -
    -
    YES
    -
    -
    Mitutoyo
    SPC Data Output,Metric-Imperial Conversion,Battery Operated
    12.7mm
    0.02 mm
    0.01 mm
    UKAS
    Yes
    0 → 12.7 mm
    Metric
    Moore & Wright
    -
    50mm
    ± 0.04 mm
    0.001 mm
    -
    -
    0 → 50 mm
    -
    Mitutoyo
    SPC Data Output
    25.4mm
    H MPE (hysteresis) 0.002mm
    0.0005mm/0.001mm/0.01mm
    -
    Yes
    25.4 mm
    Metric
    Mitutoyo
    SPC Data Output,Metric-Imperial Conversion
    30mm
    1.5 μm
    0.0005 mm, 0.001 mm
    UKAS
    Yes
    0 → 30 mm
    Metric
    Mitutoyo
    SPC Data Output,Metric-Imperial Conversion,Battery Operated
    25.4mm
    0.02 mm
    0.01 mm
    -
    Yes
    0 → 25.4 mm
    Metric
    Mitutoyo
    SPC Data Output
    25.4mm
    H MPE (hysteresis) 0.002mm
    0.0005mm/0.001mm/0.01mm
    UKAS
    Yes
    25.4 mm
    Metric
    Moore & Wright
    -
    30mm
    ± 0.035 mm
    0.01 mm
    -
    -
    0 → 30 mm
    -
    Teng Tools
    -
    -
    10 mm
    0.01
    -
    -
    0 → 10 mm
    Metric
    Resultaten per pagina